
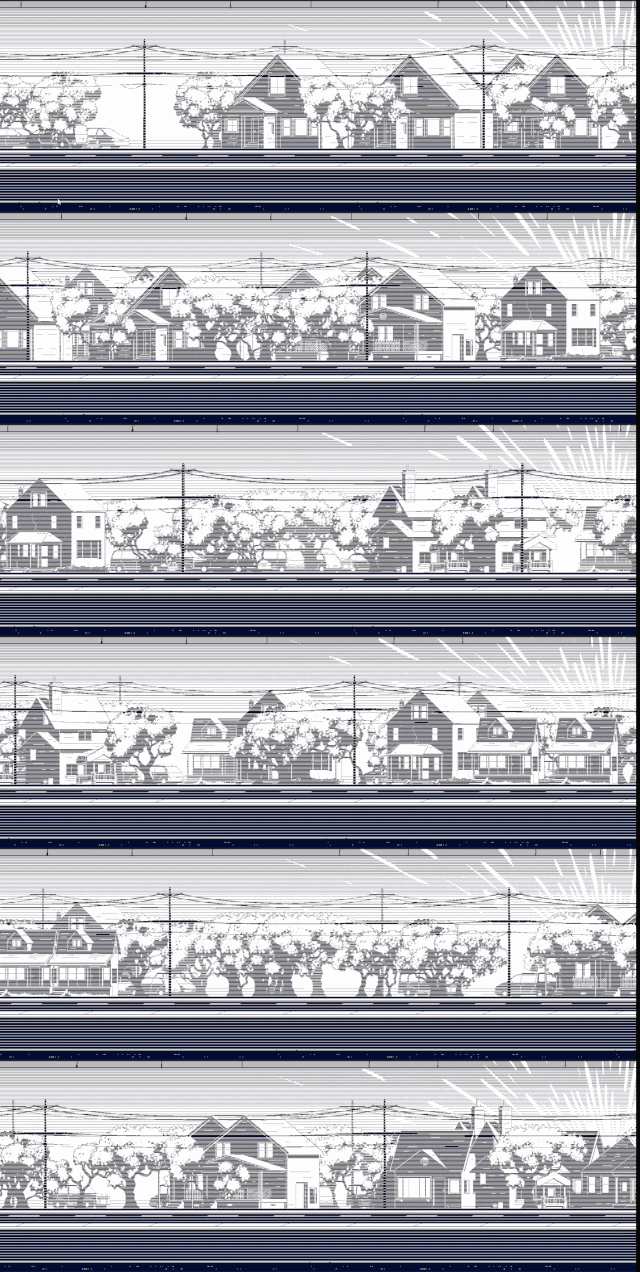
I went through quite a few iterations for my custom particle system to support all the features I wanted in my game. There was a lot to handle. Juggling particles, procedural meshes, sprites and textures, along with an editor tool and render feature.
Why custom made?
Unity offers VFX graph for particle systems and could have been some what viable for what I wanted. It supports custom attributes, bitwise operations and most importantly compute buffers. Where it falls short for me is, it’s node based. Now I do love node based work flows… but for simple shaders and systems. It allows easy things to be easier, but makes thing hard things harder. I have a total of 9 compute buffers for my particle system thus far. Too much to handle without some insane spaghetti graphs and not something VFX graph was really built for. Another reason why is because, I just love learning. Coming out of finishing this system, I realise so much possibility and understanding of the hardware I am working with. I now see the work I did for Helm of Heresy is barely scratching the surface of what it truly possible when it comes to compute shaders.
The Broadview of the System
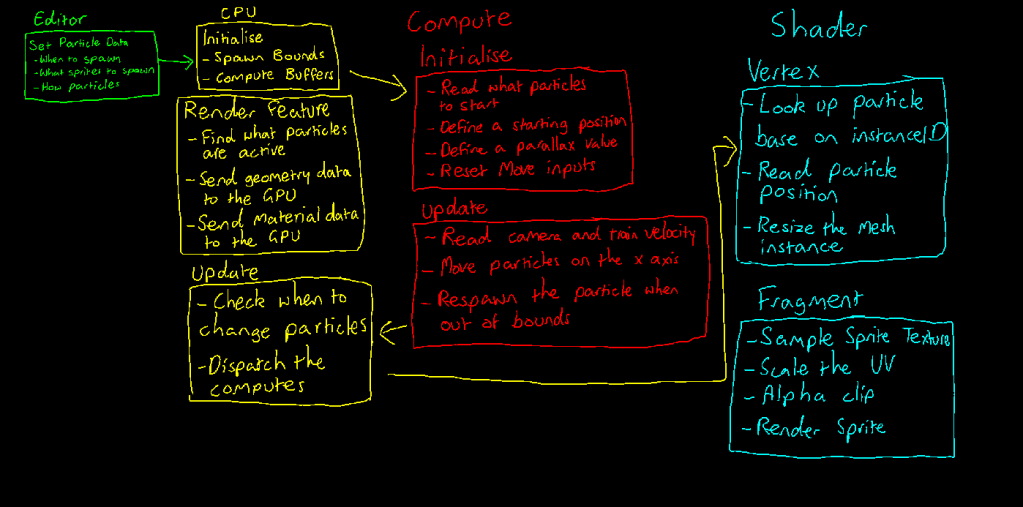
There are 4 main components to my custom particle system. In editor, I write to a scriptable object to blue print all the particle data to send to my spawner script at runtime. I decide what sprites to spawn, how many and when they should spawn. In Traitors on the Train, the environment updates whenever the player checks a ticket, so I treat the ticket check count time. Doesn’t quite replicate reality, but hey, its a video game after all. When the scene first loads, I define the spawn bounds which is the area the camera is bounded too and create all my compute buffers that store various arrays of data for the GPU to read. Over to the Render Feature, I procedurally generate quad meshes for my shader to receive and only generate quads based on the current particles that are set. Finally on the CPU at runtime, I send an event each time the player checks a ticket for the spawner to listen too and update the compute buffers and material data based on the data i defined in my editor tool. I also dispatch the compute results for my shader to read. On the GPU side, the compute shader starts by defining a start position and parallax value and then on update, reading the camera and train velocity, I scroll every active particle across the spawn bounds. Finally on the shader side I resize the quad based on the sprite data and position the quad based on the particle data. On the fragment side, I sample the material’s texture, alpha clip and render the sprite.
Editor Tool
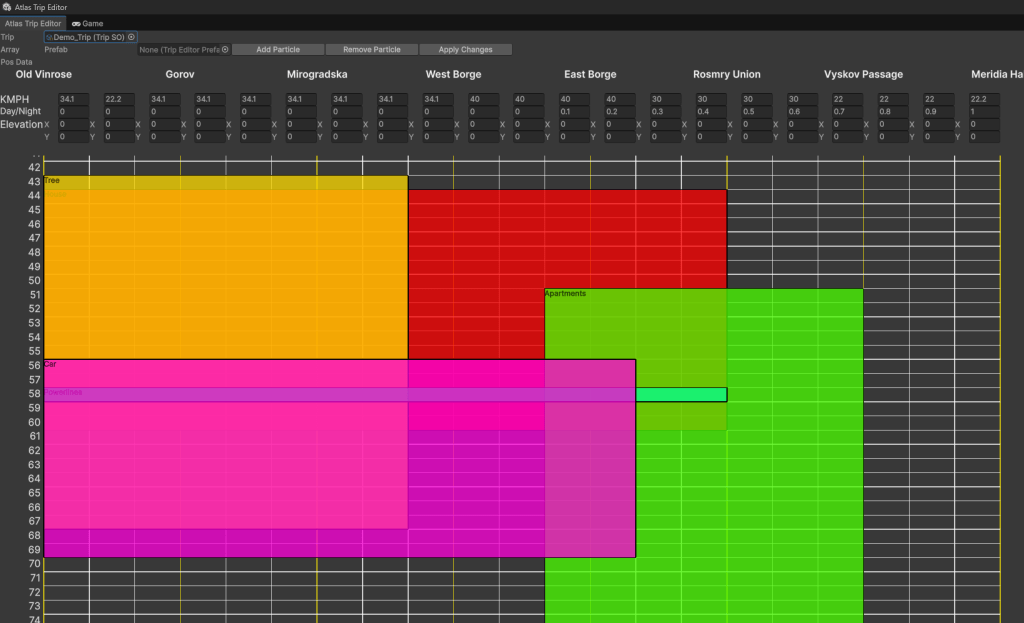
I developed an editor tool dubbed, “Atlas Trip Editor”. I knew early on I needed some sort of timeline interface so I can easily adjust what sorts of particles I want to render. There are a lot of parameters to handle. Having it all in one place helped streamline the workflow. I start with the Trip scriptable object. Trips are essential levels, but because my game is procedural, the the is no manually building the level architecture in the scene. I literally spawn everything at runtime.
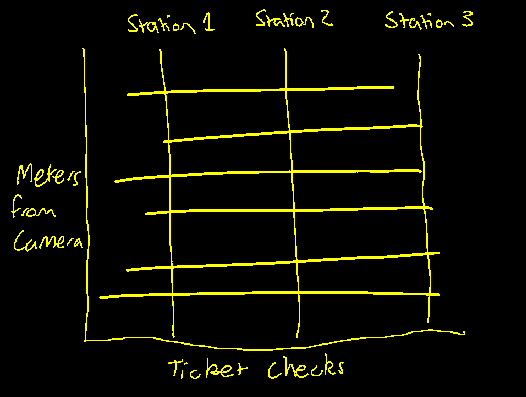
So the basic Idea is on the Y axis I have the meters from the camera. Additionally I mark where the tracks and train line should spawn. I also mark the area red where the train is so I don’t spawn things that would go through the train. On the x axis is where I mark the ticket checks treating that as if it’s time.
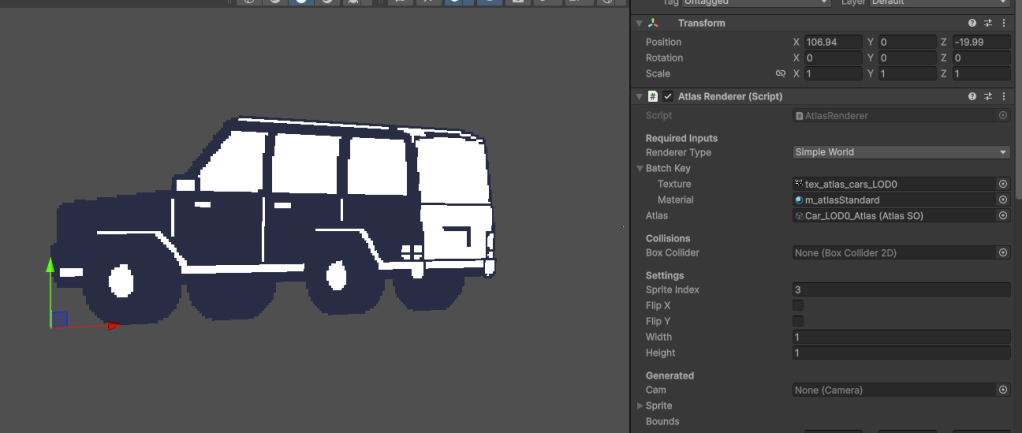

To add a particle, I first create a dummy prefab. I realise a lot of the sprite data can be read directly off my custom renderer. You can read all about that system here. I can get the texture, atlas, sprite index, width and height. I place the prefab file in the prefab slot and click add particle.
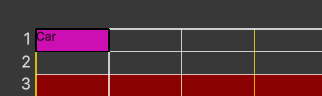
This block I call “Pos Data” already has all the sprite information so now I just need to define how many to spawn, when and where to spawn.
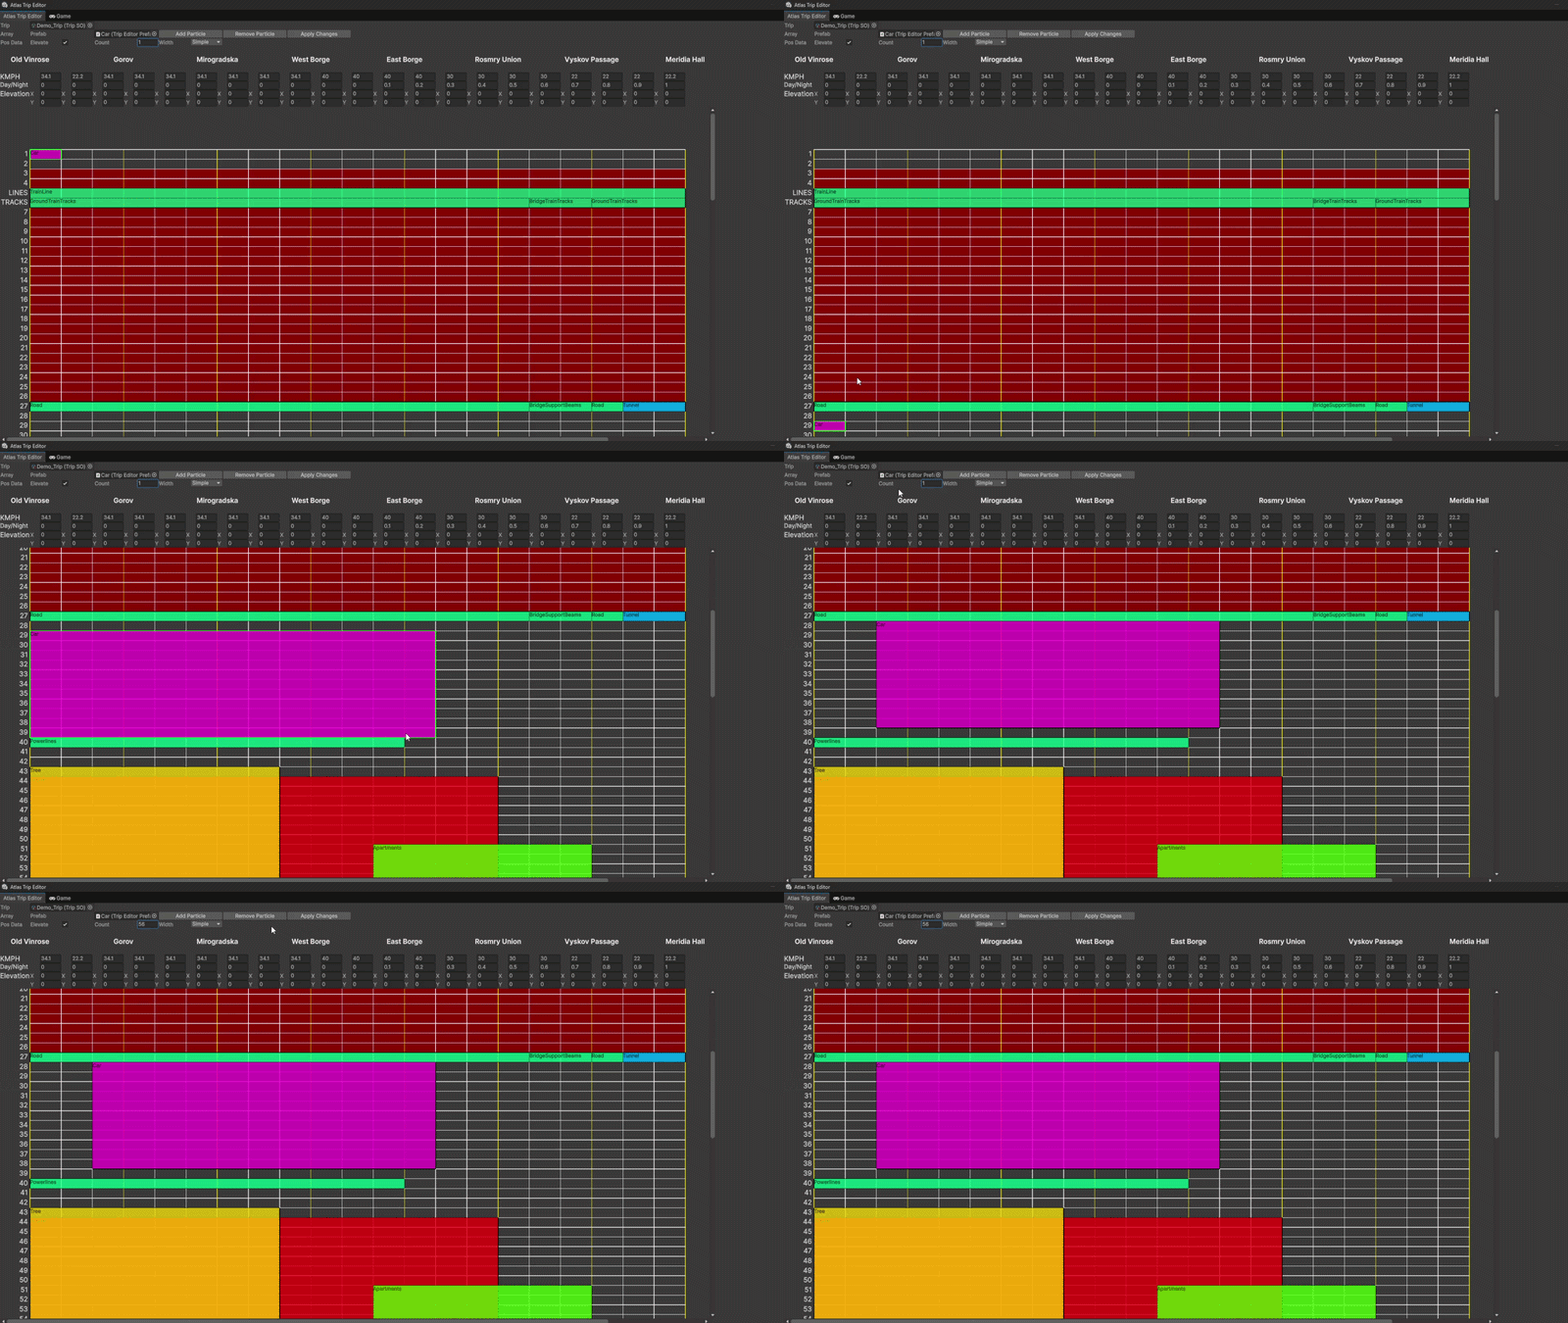
You will also notice a particle type option where is says “Simple”. I have two other options “Tiled” and “Sliced”. Tiled would meaning I render one quad and repeat the texture. I use this for my train tracks and train lines. Sliced is for nine sliced sprites, where I give a random width and height to the sprite. This is how a get random shaped buildings that still have edges.
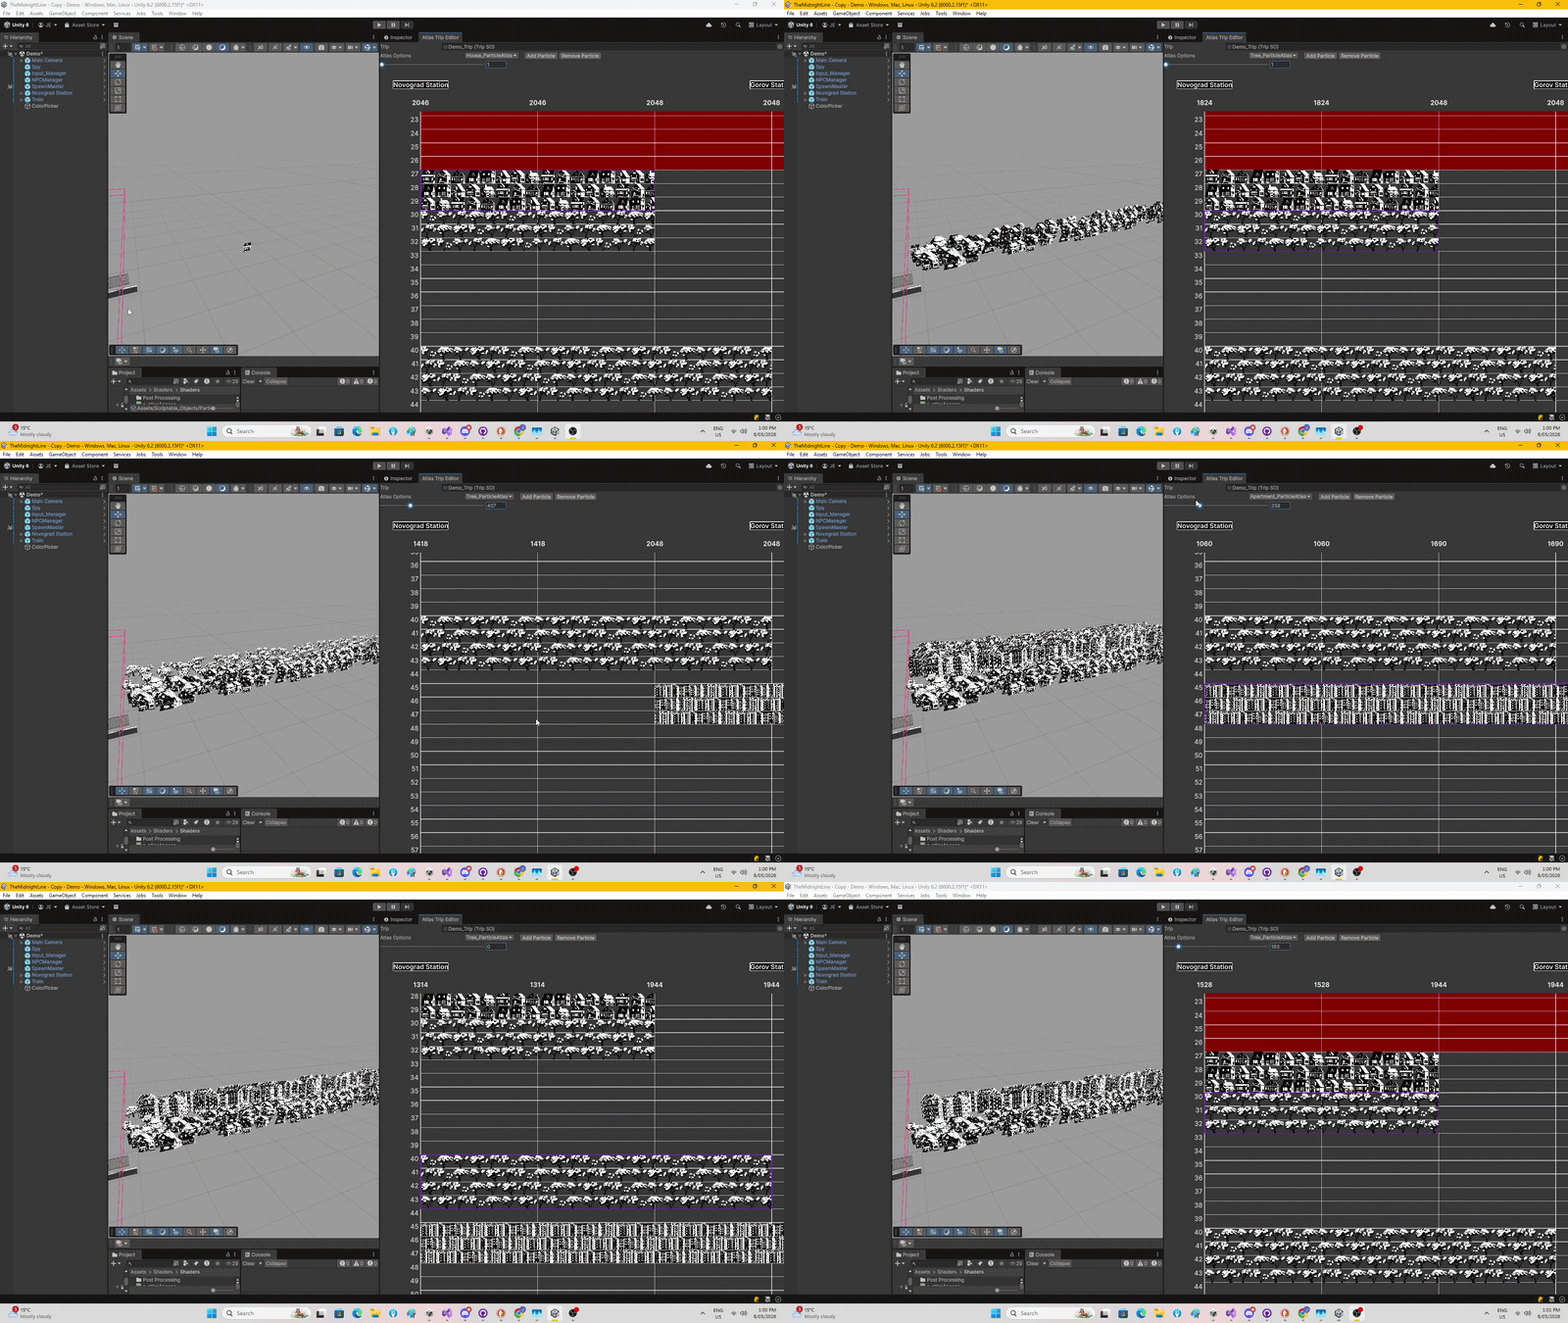
This is an older version of the tool while it was still in it’s testing phase, but you can see how the graph translates to the scene. This took a lot of computational power to I removed this feature of the tool. It wasn’t too important in the end anyways so it wasn’t worth the time to optimise.
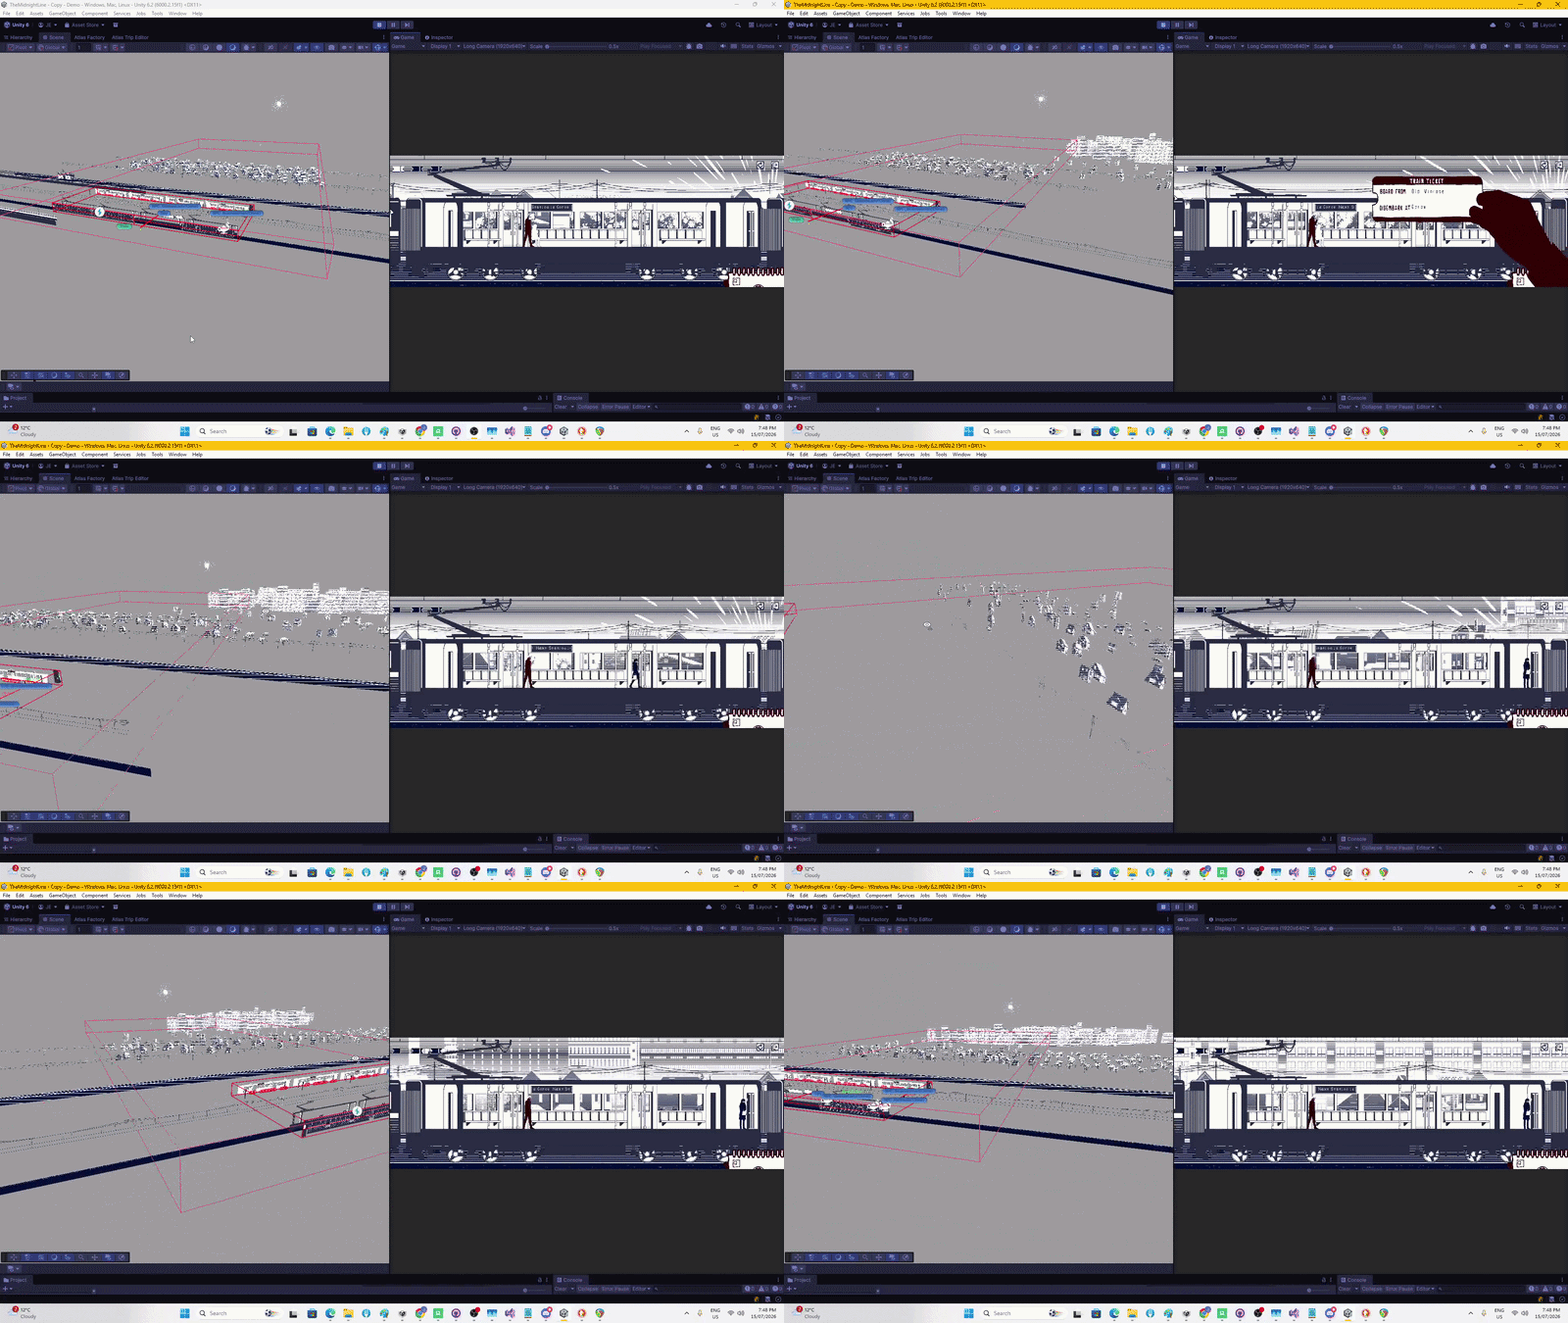
This is the final look. Here you can see at runtime, when the player checks a ticket, the trees stop spawning and the buildings scroll in. I will say this is the most complicated system I have built and this was only a brief overview. This is something I am quite proud of.


